Mixed Media Coloring Page Plan: Watercolor, Markers, Pencils, and Gel Pens
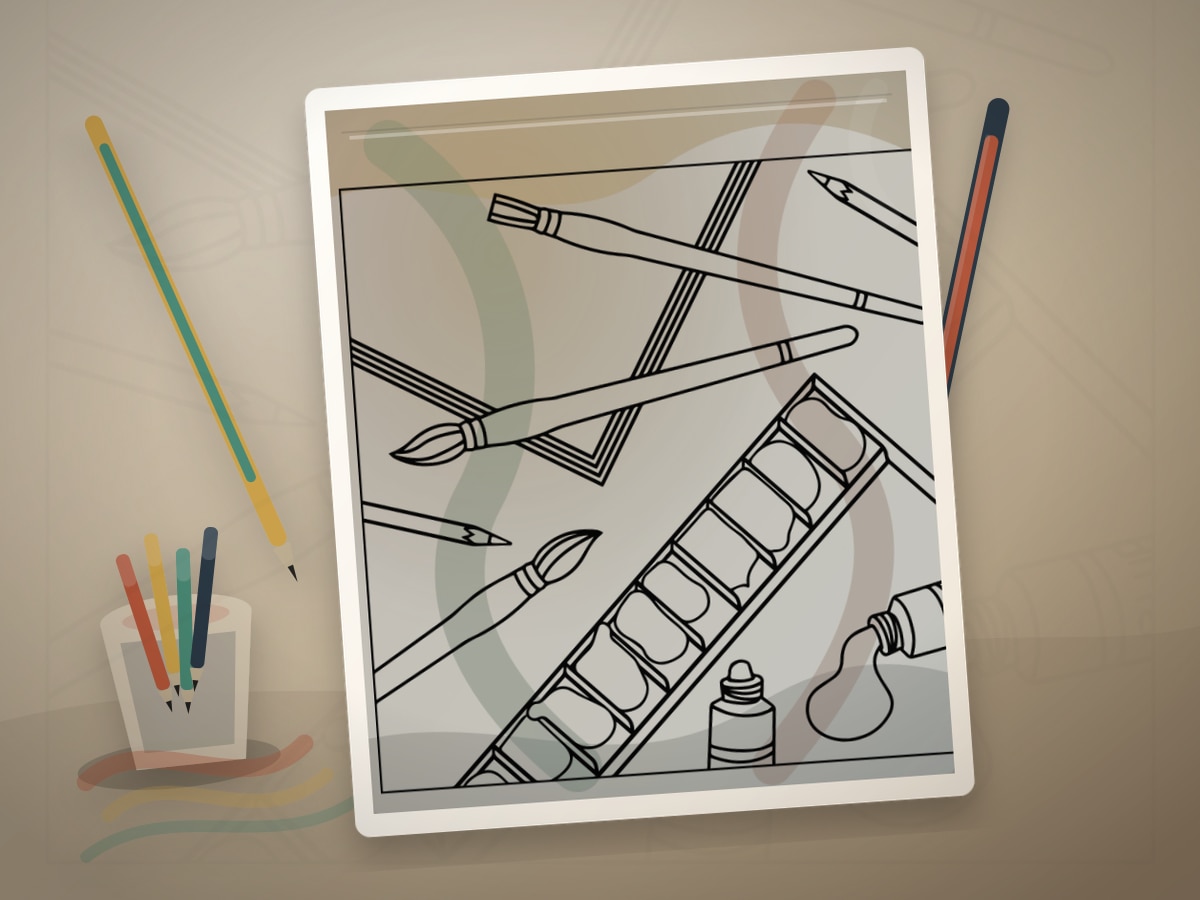
Mixed media coloring works best when every tool has a job. Watercolor can create atmosphere, markers can fill bold shapes, pencils can shade, and gel pens can add final details.
The safest order is wet to dry, broad to detailed, matte to shiny.
What This Technique Builds
The practical skills to focus on are:
- tool roles
- wet-to-dry order
- base color
- pencil control
- final accents
Mixed Media Coloring Page Plan is mainly about control before color. Start with pages with backgrounds, main subjects, tiny details, and a few highlights, then keep watercolor first, markers second, pencils third, gel pens last available so the tool can do its best work. A polished page often comes from stopping a medium at the right moment rather than pushing it into every space.
Best Pages to Try
This approach works especially well with flower coloring pages, faerie coloring pages, anime coloring pages, pattern coloring pages. The page should have pages with backgrounds and main subjects where a tool order that prevents one medium from ruining another can be tested without fighting the paper from the first mark.
For a first attempt, choose medium-sized shapes and print one spare copy. That gives you room to test coverage, pressure, bleed, or layering on pages with backgrounds and main subjects.
Match the printable page to the material before you print. The technique is easier on line art with pages with backgrounds, main subjects, tiny details, and a few highlights, because the paper, spacing, and detail size decide how cleanly the tool will behave.
If you are testing this technique, print one spare copy and write the paper or tool name on the margin. Note what changed the result on pages with backgrounds and main subjects so the page becomes a future reference instead of a one-off experiment.
Palette and Materials
Suggested palette: #38bdf8, #22c55e, #facc15, #f472b6, #7c3aed.
Use a backing sheet, scrap tests, and paper suited to the wettest material. Mixed media paper is safer than copy paper for watery layers.
The material plan matters as much as the colors. Test pressure, drying time, bleed, and layering order for pages with backgrounds and main subjects so the finished page does not surprise you halfway through.
Keep watercolor first, markers second, pencils third, gel pens last nearby and remove tools that solve a different problem. Fewer tools make it easier to see whether the technique itself is working.
Step-by-Step Method
- Limit the page to two or three main materials.
- Test the printer ink and paper before wet media.
- Add watercolor, pastel, or marker bases first.
- Use colored pencils for shadows and texture after dry time.
- Finish with gel pen, fineliner, or white highlights.
After the first layer, check the paper surface. With watercolor first, markers second, pencils third, gel pens last, it is better to correct pressure, timing, or moisture early than to repair a damaged area after the surface has failed.
How to Make Mixed Media Coloring Page Plan Look Finished
The clearest sign of a finished page is hierarchy. Decide what should be seen first, what should support it, and what can stay quiet. Each layer has a job and no wet medium has to sit on top of wax.
Edges and transitions should support a tool order that prevents one medium from ruining another. Crisp edges help small details and focal shapes, while softer transitions help backgrounds, shadows, petals, fur, water, and glow effects.
Before adding final accents, view the page from across the room or at thumbnail size. If the main idea still reads as a tool order that prevents one medium from ruining another, the page needs fewer additions than you think.
Where Mixed Media Coloring Page Plan Works Best
On pages with backgrounds and main subjects, test even coverage, pressure, moisture, or stroke direction before moving into small details.
On intricate pages, let the safest layer go first and the most permanent layer go last. That matters when a tool order that prevents one medium from ruining another depends on clean timing and controlled pressure.
On mixed-detail pages, separate the jobs around a tool order that prevents one medium from ruining another: broad color first, structure second, accents last. That order keeps the page clean.
Common Mistakes to Avoid
- Do not add gel pen before pencil shading.
- Do not use wet media over heavy wax pencil.
- Do not combine every supply on one page without a plan.
The most common mistake is ignoring the paper until it fails. If the surface starts to pill, bleed, shine, or buckle while using watercolor first, markers second, pencils third, gel pens last, stop and change strategy rather than adding more media.
When switching tools, test the overlap on the same printed paper. Pencil, marker, gel pen, watercolor, and pastel each behave differently when a tool order that prevents one medium from ruining another is the target.
Example Practice
Print a flower page. Add a pale watercolor background, marker base petals, pencil shadows, and three white gel pen highlights.
After the practice, write down the paper, tool, and pressure that worked. The technique improves quickly when each test records what made pages with backgrounds and main subjects cleaner.
Troubleshooting Mixed Media Coloring Page Plan
If the page looks flat, check whether a tool order that prevents one medium from ruining another is actually visible. Add contrast near the focal point, repeat the key color, or reduce a background that is pulling too much attention.
If the tool misbehaves on pages with backgrounds and main subjects, do not immediately add a different medium. Blot, dry, sharpen, lighten pressure, or move to a less visible area while the paper recovers.
Write the tool order on scrap paper before starting. That single correction usually does more than adding another layer everywhere.
Related Coloring Guides
Continue with alcohol marker tips, watercolor washes, gel pen accents.
Those guides are useful companions because the result on pages with backgrounds and main subjects often depends on paper choice, layering order, and knowing when a final accent is enough.
Next Page to Print
Choose flower coloring pages and print a spare copy for testing. Use the margin to note paper type, tool, and any setting that affected pages with backgrounds and main subjects.
Once the test behaves well, move to the clean print and keep the same order of operations that worked for a tool order that prevents one medium from ruining another. Consistency matters more than improvisation here.
Quick FAQ
Can a beginner start with this approach?
Yes, if you start with pages that need more than one medium. Keep the first version small, test the tool or palette, and let the page teach one skill at a time.
What should I test before coloring the full page?
Test bleed, drying time, pressure, and whether the printed line stays clean on pages with backgrounds and main subjects. The same tool can behave very differently on copy paper, cardstock, and mixed media paper.
How do I know when to stop?
Stop when each layer has a job and no wet medium has to sit on top of wax. If another layer would make the focal point less clear, the page is already finished enough.
Final Thought
Mixed Media Coloring Page Plan improves when paper, tool, and timing are planned together. Start with a test, keep the order simple, and let each medium do the job it handles best.